I managed to get a couple of new guns painted last week, both plastic toy guns.
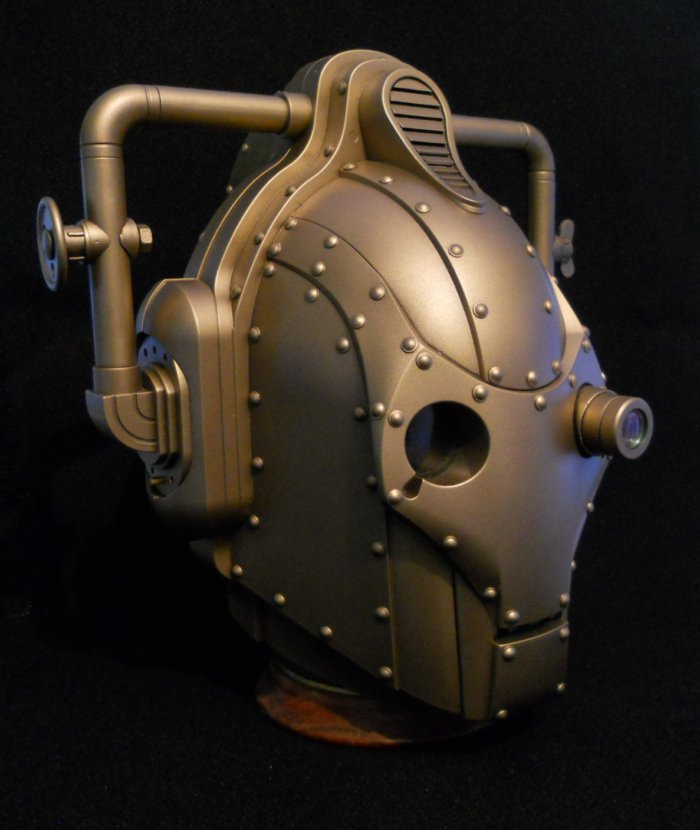
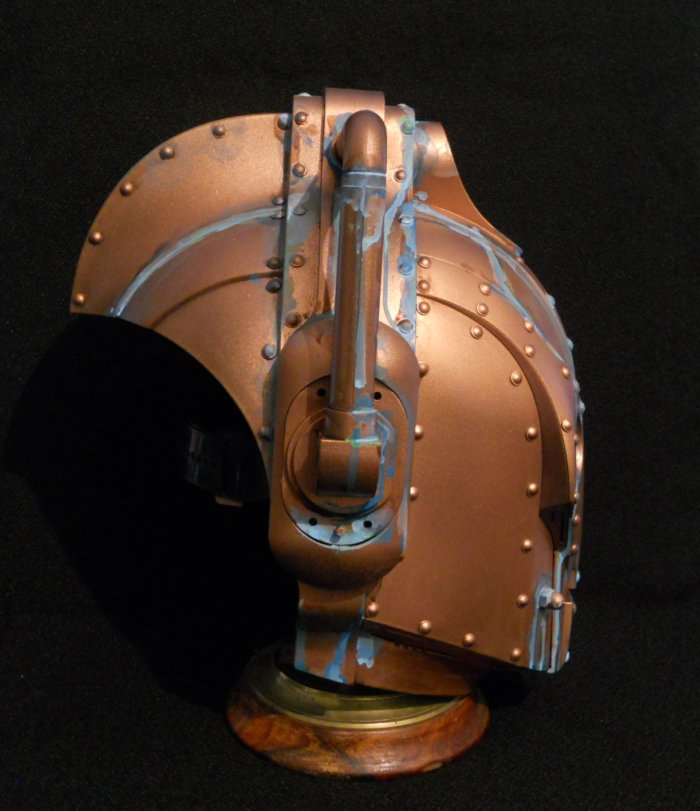
I followed the usual procedure, dismantle if necessary, masking tape used if necessary, everything sanded, embellishments added where wanted. Then a spray coat of acrylic primer followed by a spray coat of matt black acrylic paint.
Then they were both hand painted with acrylic colours and finished with a coat of clear lacquer for protection.
I almost forgot, both of these guns were modified by cutting off the clunky plastic handle which is used for cocking them and replacing them with metal rings which I think look much better.
Monday, 24 October 2016
Tuesday, 18 October 2016
Steampunk Cyberman Helmet Brass Finish
I like upcycling/modifying these toys. Usually a fairly simple makeover, a few cosmetic additions like rivets and valves followed by a paint job.
This is the starting point
After sanding the whole thing I added rivets a fake zooming eye piece and valve handles on the side tubes.
Next I sprayed it with acrylic primer followed when dry by a spray coat of matt black acrylic paint. I finished it with a light coat of gold paint and a couple of coats of clear lacquer for protection.
This is the finished result.
Available from my Etsy shop here
Friday, 7 October 2016
Steampunk Cyberman Helmet
I'm a big fan of the Cybermen from Doctor Who, I saw their first incarnation, a long, long time ago. I still like the look of the original design but I do really like the recent updates.
I like to give them a makeover of my own now and again. Preferably with a steampunk influence, so plenty of rivets and either a brass finish or as in this case a copper finish complete with the addition of verdigris.
Available in my Etsy shop. I will soon be Christmas by the way.
https://www.etsy.com/uk/listing/483902853/steampunk-cyberman-helmet-sci-fi-cosplay
Thursday, 22 September 2016
Steampunk Kaleidoscopes
I was tidying up the photo albums on the PC yesterday, and realised just how long it's been since I made a steampunk kaleidoscope. These were some of the first things I made with a steampunk influence when I discovered that I was in fact a steampunk.
I was already making kaleidoscopes in stained glass so it was an obvious progression, I try to make them with a Victorian scientific look. I suppose I should make more if I can find the time.
Here's a few examples.
I was already making kaleidoscopes in stained glass so it was an obvious progression, I try to make them with a Victorian scientific look. I suppose I should make more if I can find the time.
Here's a few examples.
Thursday, 8 September 2016
Mal's Gun Steampunk
Having made a couple of replicas of Malcolm Reynolds gun from Firefox recently I thought I'd make another one, only this time with a steampunk feel to it. So I used the basic shape of the Firefly pistol but added two small gas cylinders on each side complete with pipework. As much as I love the octagonal barrel of Mal's gun it's quite time consuming to make and I wanted this one to have a different look so I used 15mm plastic tube with a copper plumbing fitting on the end of the barrel. I also used a plumbers brass nut for the joint between the barrel and the gun body.
The gun was constructed from MDF as usual with hardwood grips. It was finished with acrylic paints all hand painted. I'm very pleased with it
Wednesday, 7 September 2016
Steampunk Cyberman Helmet
I occasionally up cycle toy Dr Who Cyberman helmets, this is one I finished yesterday. After rubbing the whole thing down with fine grade steel wool and removing some of the inner workings so that they wouldn't get spray painted, I added rivets and nuts.
Next it was sprayed with acrylic primer which was followed by a coat of acrylic matt black paint. The spray painting was finished with a coat of metallic copper paint. Then it was finished by hand by brush painting verdigris on selected areas.
Sunday, 4 September 2016
Tarantula Moult for Steampunk
One of my neighbours called round today to get some advice about something they're making, they also bought me a moult from their tarantula, which if you don't know is the skin which has been shed by a tarantula as it grows, like crabs and other creatures do. she gave it to me because she knows the sort of things I make and thought I might be able to make use of it. I'm sure I will.
Subscribe to:
Comments (Atom)


